
pdf blueprint picnic table plans
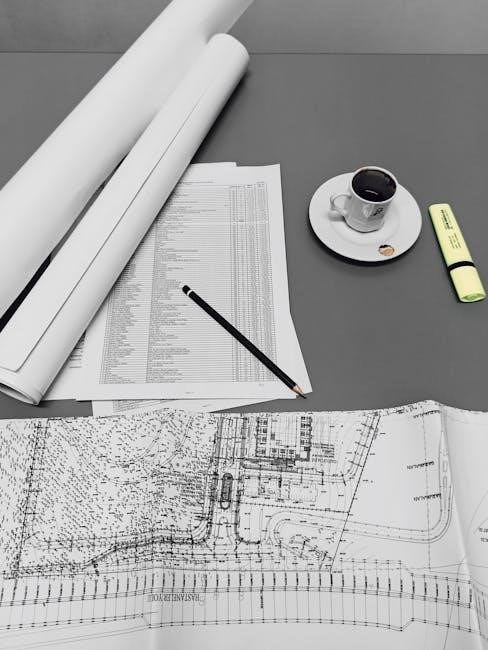
PDF blueprints offer a convenient, detailed guide for constructing your own picnic table, encompassing material lists and step-by-step instructions for a successful DIY project.
Why Use PDF Blueprints?
PDF blueprints are incredibly advantageous for several reasons when embarking on a picnic table building project. They provide a universally accessible and easily printable format, ensuring you have plans readily available during construction.
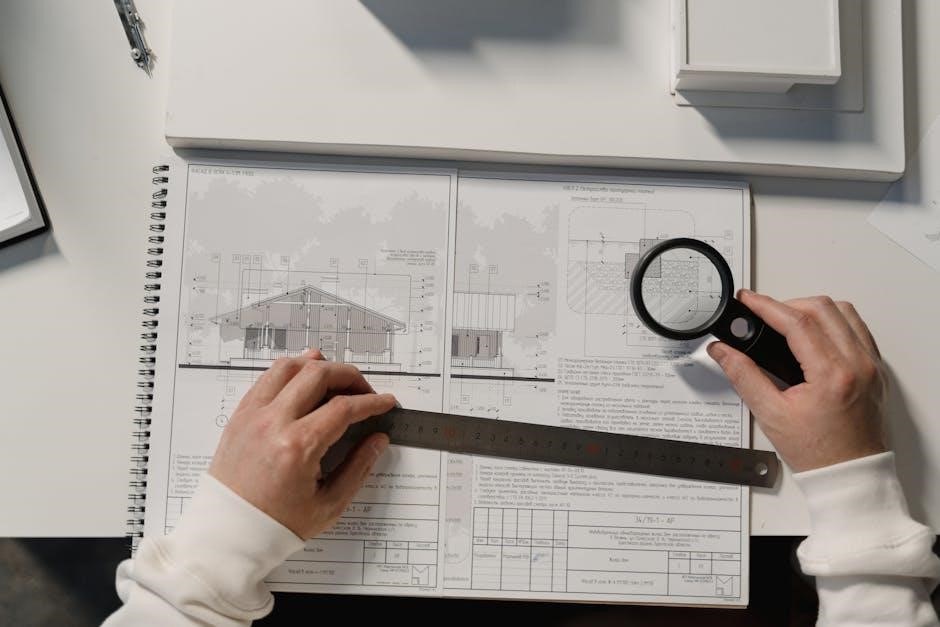
Unlike traditional paper plans, PDFs are easily backed up and shared, minimizing the risk of loss or damage. The digital format allows for zooming in on intricate details, crucial for precise cuts and assembly.
Furthermore, many PDF plans include 3D renderings, offering a clearer visualization of the finished product. This clarity reduces errors and enhances the overall building experience, making them ideal for both novice and experienced woodworkers.
Benefits of Building Your Own Picnic Table
Constructing your own picnic table offers numerous advantages beyond simply having a place to dine outdoors. Building allows for complete customization – size, shape, and style can all be tailored to your specific needs and aesthetic preferences.
It’s a cost-effective alternative to purchasing pre-made tables, especially when utilizing readily available lumber. The process fosters a sense of accomplishment and provides valuable woodworking skills.
A homemade picnic table becomes a focal point for gatherings, creating lasting memories with family and friends, and adds a personal touch to your outdoor living space.
Types of Picnic Table Plans Available in PDF Format
PDF plans unlock diverse designs: traditional 6-foot tables, charming circle options, unique hexagon structures, and practical detached bench configurations for varied spaces.
Traditional 6-Foot Picnic Table Plans
Classic and enduring, the 6-foot picnic table plan remains the most popular choice for families and gatherings. PDF blueprints for this style typically detail straightforward construction, making it ideal for beginner woodworkers. These plans generally include precise cutting lists for lumber – often pine, cedar, or redwood – and specify hardware like screws and bolts.
You’ll find detailed diagrams illustrating the assembly of the table frame, tabletop, and attached benches. Many free plans available online offer variations in design, such as A-frame or pedestal bases. The simplicity of this design ensures a functional and aesthetically pleasing outdoor dining space, perfect for any backyard or park setting.
Circle Picnic Table Plans
Unique and sociable, circular picnic tables encourage conversation and offer a distinct aesthetic. PDF blueprints for these tables often present a more complex build than traditional rectangular designs, requiring careful attention to angles and curves. Plans will detail cutting multiple wedge-shaped pieces for the tabletop and bench seating, demanding accurate measurements.
These plans typically specify lumber types suitable for bending or shaping, like cedar or redwood. You’ll find diagrams illustrating the construction of a central pedestal or supporting base; While more challenging, the resulting circular picnic table creates a charming focal point for outdoor spaces, accommodating larger groups comfortably.
Hexagon Picnic Table Plans
Offering a blend of style and functionality, hexagon picnic tables provide ample seating and a visually appealing design. PDF blueprints for these tables typically involve constructing six individual sections that are then joined together to form the hexagonal shape. Plans will detail precise angle cuts for the tabletop and bench supports, ensuring a snug and stable fit.
These plans often recommend using durable lumber like cedar or pressure-treated pine to withstand outdoor elements. Expect detailed diagrams illustrating the assembly process, including bracing for added strength. Hexagon tables are ideal for larger gatherings and add a unique touch to any backyard or park setting.
Detached Bench Picnic Table Plans
Detached bench picnic tables offer flexibility in arrangement, allowing you to position the benches as needed. PDF blueprints for these designs typically feature a separate tabletop structure supported by legs, with freestanding benches placed alongside. These plans emphasize sturdy construction, as the benches aren’t directly attached for support.
Detailed diagrams illustrate building both the table and bench components independently, then show how to align them for comfortable seating. Expect material lists specifying lumber for both sections, along with hardware requirements for secure assembly. This style is great for maximizing space and accommodating varying group sizes.

Materials Needed for Picnic Table Construction
PDF blueprints detail lumber (pine, cedar, redwood), screws, bolts, and washers – essential components for a durable picnic table build, ensuring longevity and stability.
Lumber Selection (Pine, Cedar, Redwood)
Choosing the right lumber is crucial for a lasting picnic table. Pine is an economical option, readily available, but requires thorough sealing to resist weather damage and insect infestation. Cedar offers natural resistance to decay and insects, making it a popular, though pricier, choice.
Redwood, known for its beautiful color and durability, is another excellent, albeit more expensive, alternative. PDF blueprints often specify lumber dimensions and quantities. Consider the climate; cedar and redwood perform better in wet environments. Always check for straightness and minimal knots when selecting boards, ensuring structural integrity and a smooth finish for your outdoor dining space;
Hardware Requirements (Screws, Bolts, Washers)
Secure assembly demands the correct hardware. Galvanized or stainless steel screws are essential to prevent rust and corrosion, especially for outdoor use. PDF blueprints will detail screw sizes and quantities needed for each joint. Bolts and washers provide robust connections for the table frame and bench supports, offering superior strength compared to screws alone.
Carriage bolts are frequently recommended for their holding power. Ensure washers are used with both bolts and screws to distribute pressure and protect the wood. Prioritize quality hardware; cheap alternatives may fail prematurely. A comprehensive hardware list is typically included within the PDF plans for accurate purchasing.
Tools Required for Building
Successful picnic table construction necessitates a range of tools. A circular saw or hand saw is crucial for accurate lumber cuts, guided by the PDF blueprint dimensions. A drill with various bits is essential for pilot holes and screw driving. A measuring tape, square, and pencil ensure precise marking and alignment.
Safety glasses and work gloves are non-negotiable for protection. A sander will smooth rough edges, while a wrench or socket set tightens bolts. Consider a level to guarantee a stable finished product. PDF plans often suggest tool recommendations, streamlining the building process.

Step-by-Step Construction Guide (Based on Common Plans)
Following PDF blueprints involves cutting lumber, assembling the frame, attaching tabletop boards, and finally, building and securing the benches for a sturdy table.
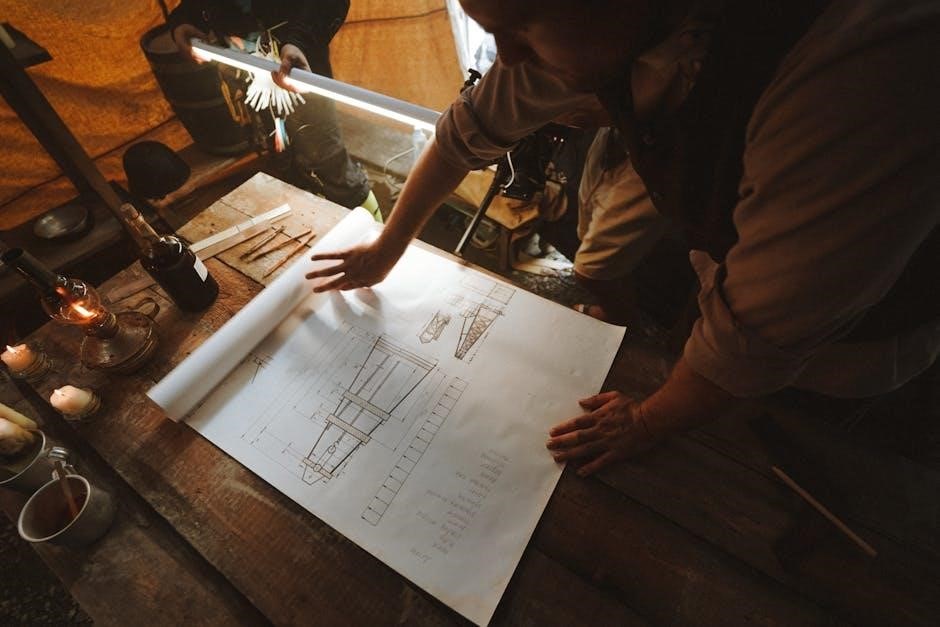
Cutting the Lumber According to the Blueprint
Precise lumber cuts are fundamental to picnic table construction, directly dictated by your chosen PDF blueprint’s dimensions. Carefully transfer measurements from the plans onto your lumber, utilizing a pencil and speed square for accuracy. Employ a circular saw or hand saw, ensuring straight, clean cuts to maintain structural integrity.
Double-check each cut against the blueprint before proceeding, as errors at this stage can compound later. Prioritize safety by wearing safety glasses and utilizing appropriate cutting techniques. Remember to account for the saw blade’s kerf (width of the cut) when marking your lumber. Accurate cuts guarantee a well-fitted and stable picnic table.
Assembling the Table Frame
Frame assembly begins with connecting the legs and side supports, typically using screws or bolts as specified in your PDF blueprint. Ensure squareness during this phase – a framing square is invaluable. Pre-drilling pilot holes prevents wood splitting, especially with hardwoods.
Progress systematically, referencing the blueprint for correct component orientation and fastener placement. Tighten all connections securely, but avoid over-tightening, which can strip screws or damage the wood. A robust frame is crucial for the picnic table’s stability and longevity, so double-check all joints before moving forward.
Attaching the Tabletop Boards
Securing the tabletop involves carefully positioning the boards onto the assembled frame, maintaining consistent overhang on all sides as detailed in your PDF plans. Use screws – typically exterior-grade – to fasten the boards to the supporting frame members.
Spacing the screws evenly ensures a secure and visually appealing surface. Consider using a countersinking bit for a flush finish. Before final tightening, verify alignment and make any necessary adjustments. A properly attached tabletop provides a durable and inviting surface for enjoying meals and activities.
Building and Attaching the Benches
Bench construction typically mirrors the tabletop process, involving assembling individual bench frames and then attaching the seating boards. PDF plans will specify the optimal bench length and support structure for stability.
Securely attach the benches to the main table frame using bolts and washers, allowing for some movement to prevent cracking. Ensure the benches are level and comfortably positioned. Proper bench attachment is crucial for overall picnic table sturdiness and user safety, providing reliable seating for years to come.
Customization and Finishing Touches
Personalize your picnic table with paint, stain, or sealant for protection and aesthetic appeal, reflecting your style and enhancing its longevity.
Adding a Protective Finish (Stain, Sealant)
Protecting your newly built picnic table from the elements is crucial for its longevity. Applying a high-quality stain not only enhances the wood’s natural beauty but also provides a layer of defense against moisture, UV rays, and general wear and tear.
Consider oil-based stains for deeper penetration and durability, or water-based options for easier cleanup and lower VOCs. Following the stain, a sealant – polyurethane or spar urethane are excellent choices – creates a waterproof barrier.
Multiple coats, lightly sanded between applications, will offer superior protection. Remember to choose a finish appropriate for outdoor use and follow the manufacturer’s instructions carefully for optimal results and a lasting, beautiful picnic table.

Personalizing with Paint or Design
Beyond basic finishing, personalize your picnic table to reflect your style! Paint offers a vibrant way to add color, while stencils can create intricate designs. Consider themes – nautical, floral, or even a playful checkered pattern. Before painting, prime the wood for better adhesion and a smoother finish.
For a rustic look, explore techniques like distressing or whitewashing. You could also incorporate mosaic tiles or wood burning for unique accents. Remember to use exterior-grade paints and sealants to withstand outdoor conditions.
Let your creativity flow and transform your picnic table into a statement piece for your outdoor space!

Resources for Free PDF Picnic Table Plans
Numerous websites provide downloadable PDF picnic table plans, offering various designs and skill levels, alongside material lists for easy construction.
Websites Offering Downloadable Plans
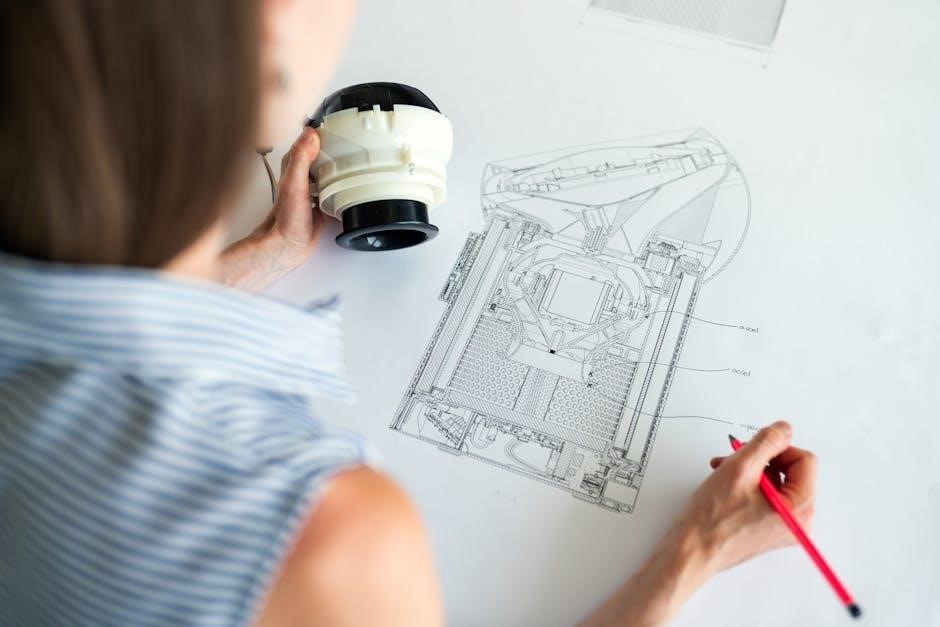
Several online platforms specialize in providing free, downloadable PDF picnic table plans to aspiring builders. These resources often categorize plans by style – traditional, circle, hexagon, or detached bench – simplifying the selection process. Websites frequently include comprehensive material lists, cutting diagrams, and detailed assembly instructions, catering to both beginner and experienced DIY enthusiasts.
Furthermore, some sites offer plans in multiple formats, such as PDF and SketchUp, allowing for greater flexibility in viewing and modifying the designs. Exploring these websites unlocks a wealth of options for creating a custom picnic table perfectly suited to your outdoor space and preferences, ensuring a rewarding building experience.
Veterans and Student Resources Related to DIY Projects
Many institutions recognize the therapeutic and skill-building benefits of DIY projects, offering specific resources for veterans and students. These often include access to workshops, tool libraries, and project guidance, fostering a supportive learning environment. Veterans may find forms for class registration and advisor sign-off readily available online, streamlining project integration with educational goals.
Additionally, some programs provide parent letters for transfer credit, aiding students taking courses at multiple institutions. Utilizing these resources can significantly reduce project costs and provide valuable mentorship, empowering individuals to successfully complete their picnic table builds.

Picnic Table Use and Maintenance
Proper placement and regular cleaning are crucial for longevity; parks offer ideal settings, while sealant preserves wood against weather damage.
Best Practices for Picnic Table Placement
Strategic placement enhances enjoyment and extends the life of your newly built picnic table. Consider a level surface, ideally within a shaded area to protect from harsh sunlight and reduce weathering. Parks, with their established recreational spaces, provide excellent locations, but ensure accessibility for all users.
Avoid placing the table directly under trees prone to dropping sap or debris. Proximity to grilling areas is convenient, but maintain a safe distance to prevent accidental fires. Regularly inspect the surrounding area for potential hazards, like uneven ground or protruding roots. Proper positioning maximizes usability and minimizes maintenance needs, ensuring years of outdoor dining and gatherings.
Cleaning and Preserving Your Picnic Table
Regular cleaning is crucial for maintaining your picnic table’s appearance and longevity. Use mild soap and water to remove dirt, food residue, and mildew. Avoid abrasive cleaners that can damage the wood finish. After cleaning, thoroughly rinse and allow the table to dry completely.
Annual application of a protective finish, like stain or sealant, safeguards against weathering and UV damage. Inspect for loose screws or bolts and tighten as needed. Consider covering the table during harsh winter months to prevent cracking or warping. Consistent care ensures your picnic table remains a welcoming centerpiece for outdoor enjoyment for years to come.