how to install valve guides
Valve guides play a crucial role in ensuring proper engine performance by directing valve movement and maintaining cylinder head integrity. Made from durable materials like bronze or steel, they withstand high temperatures and stresses. This guide provides a comprehensive overview of installing valve guides, helping you understand the process and its importance for optimal engine functionality;
What Are Valve Guides and Their Importance
Valve guides are critical components in an engine’s cylinder head, serving as sleeves that guide the valve stems as they move up and down. Typically made from durable materials like bronze or steel, they are designed to withstand the high temperatures and mechanical stresses of engine operation. The primary function of valve guides is to ensure precise alignment and smooth movement of the valves, which is essential for proper combustion and engine performance.
The importance of valve guides lies in their role in maintaining engine efficiency and longevity. They prevent valve wobble, which can lead to uneven sealing of the valve seat, reduced power, and increased oil consumption. Additionally, valve guides help protect the cylinder head from wear caused by the constant motion of the valves. Over time, however, valve guides can become worn out due to heat, friction, and contamination, leading to performance issues.
Understanding the function and significance of valve guides is crucial before attempting an installation. They are often overlooked but are vital for ensuring the engine runs smoothly and maintains its performance capabilities. Properly installed valve guides contribute to better fuel efficiency, reduced emissions, and overall engine reliability. This makes them a key focus during engine repairs or rebuilds.
Common Signs of Worn-Out Valve Guides
Worn-out valve guides often manifest through several noticeable symptoms that can impact engine performance. One of the most common signs is increased oil consumption, as worn guides allow engine oil to seep into the combustion chamber and burn along with the fuel. This not only leads to higher oil costs but also results in excessive smoke from the exhaust, particularly blue-tinted smoke, indicating oil is burning.
Another key indicator is decreased engine performance, such as a loss of power or rough idling. Worn guides can cause valves to move improperly, disrupting the precise timing of combustion; This misalignment can also lead to poor fuel efficiency, as the engine struggles to maintain optimal performance. Additionally, noise from the engine, such as clattering or tapping sounds, may occur due to loose or misaligned valves caused by worn guides.
Over time, worn valve guides can also lead to compression leaks, as the valves may not seal properly against their seats. This can result in a low compression reading during engine testing. Furthermore, excessive wear can cause the valve stem to wobble, leading to uneven wear on the valve seat and potentially requiring costly repairs if left unaddressed.
Recognizing these signs early is crucial, as neglected worn-out valve guides can escalate into more severe engine damage. If you notice any of these symptoms, inspecting and replacing the valve guides promptly is essential to restore engine performance and prevent further complications.
When to Replace Valve Guides
Valve guides should be replaced when they exhibit significant wear or failure, as identified through various diagnostic indicators. One key factor is excessive oil consumption, which can lead to blue-tinted smoke from the exhaust, signaling that oil is entering the combustion chamber due to worn guides. Additionally, a noticeable decrease in engine performance, such as reduced power output or rough idling, often points to guide wear.

Poor fuel efficiency is another indicator, as inefficient combustion can result from misaligned or loose valves caused by worn guides. Furthermore, unusual engine noises, like clattering or tapping sounds, may signify that the valve movement is compromised due to guide wear. If left unaddressed, these issues can escalate, leading to more severe engine damage.
It is crucial to replace valve guides promptly when these symptoms arise to restore proper engine function and prevent further complications. Early intervention ensures optimal performance and longevity of the engine components.

Preparation
Proper preparation is essential before installing valve guides to ensure a smooth and successful process. Begin by gathering all necessary tools and materials, such as guide installers, measuring tools, and replacement guides. Clean the engine area thoroughly to prevent contamination. Next, review detailed repair manuals or online resources, like those from Austin-Healey or Miata forums, for specific guidance tailored to your engine type, especially for aluminum cylinder heads. Understanding the steps and potential challenges beforehand will help you approach the installation confidently and systematically. Additionally, consult reputable sources like Amazon for high-quality replacement parts that match your engine specifications. By meticulously preparing and planning, you can avoid common pitfalls and ensure optimal results. Always prioritize safety by wearing protective gear and working in a well-ventilated area. This careful preparation will set the foundation for a successful valve guide installation. Proper planning prevents poor performance, ensuring your engine runs at its best following the replacement; Stay organized and methodical throughout the process to achieve professional-grade results.
Tools and Materials Needed
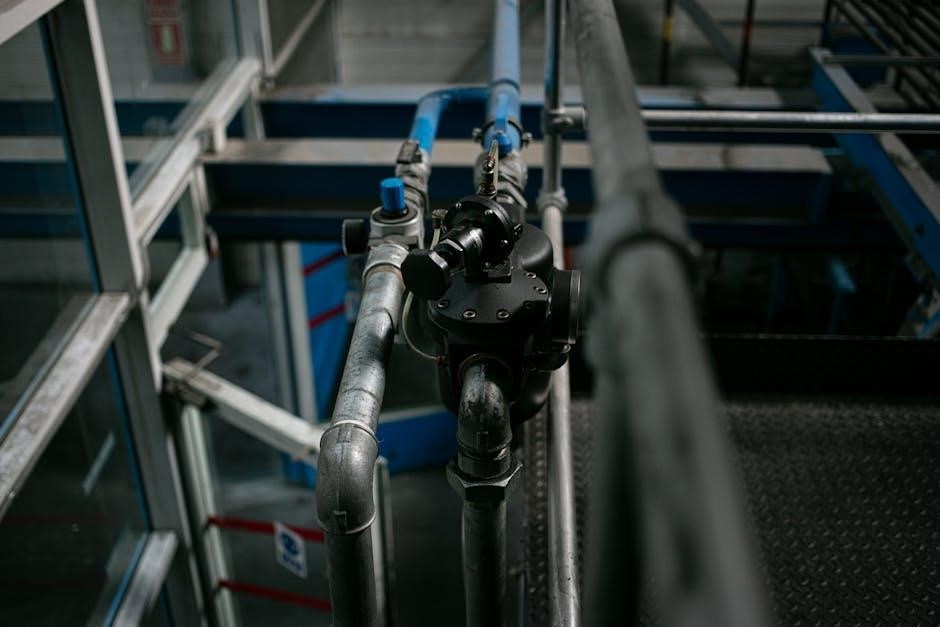
Installing valve guides requires specific tools and materials to ensure the job is done correctly. Essential tools include a valve guide installer, which is crucial for both removing old guides and installing new ones. This tool is often available online or at automotive stores. Additionally, a valve spring compressor is necessary to remove the springs without causing damage. Air compression tools can also be useful for extracting old guides that are stuck due to wear and tear.
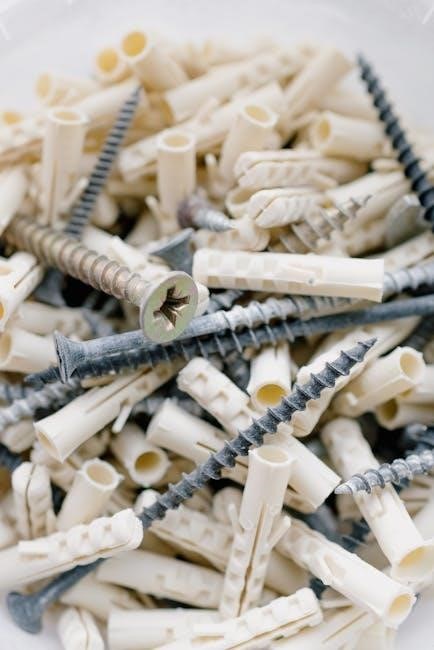
Other necessary materials include new valve guides, which should be compatible with your engine’s cylinder head material (aluminum or cast iron). Pilot bearings or guide bushings may also be required, depending on your engine type. A sharp punch or drift can help remove old guides, while a dial indicator ensures proper alignment during installation. Cleaning supplies, such as solvent and a brush, are essential for preparing the area around the guides. A torque wrench and sealant (e.g., RTV silicone) will be needed to secure the new guides properly. Safety gear, including gloves and goggles, should always be worn during the process.
For reference, forums like Austin-Healey or Miata Turbo Forum often recommend specific tools for different engine types, especially for aluminum cylinder heads. Online retailers like Amazon offer a wide selection of valve guides and installation tools. By gathering all the necessary tools and materials beforehand, you can ensure a smooth and successful installation process. Proper preparation is key to achieving professional-grade results. Always double-check compatibility and specifications to avoid costly mistakes. With the right tools and materials, you’ll be well-equipped to replace your valve guides effectively. Proper planning prevents poor performance, ensuring your engine runs at its best following the replacement. Stay organized and methodical throughout the process to achieve professional-grade results.
Preparation Steps Before Installation
Before installing new valve guides, proper preparation is essential to ensure a successful process. Start by disassembling the engine to access the cylinder head, following the manufacturer’s instructions. Remove the valve springs and keep them organized to avoid mixing components. Clean the area around the old guides thoroughly using a solvent and a wire brush to remove dirt and debris. This step ensures a smooth installation and prevents contamination. Inspect the cylinder head for any damage or wear, addressing issues before proceeding.
Measure the old guides to determine the correct replacement size, using a dial indicator to check for proper alignment. Apply a thin layer of lubricant to the new guides to prevent seizure during installation. If using aluminum cylinder heads, consult the repair manual for specific recommendations, as materials like bronze are often preferred for durability. Forums such as Austin-Healey and Miata Turbo often provide detailed insights for specific engine types.
Finally, ensure all tools and materials are within reach, and the workspace is clean and well-lit. Proper preparation minimizes complications during installation and ensures optimal engine performance post-replacement. By following these steps, you set the foundation for a precise and efficient valve guide installation process. Attention to detail now will save time and effort later, ensuring your engine runs smoothly for years to come. Stay methodical and patient throughout the preparation phase to achieve professional-grade results. A well-prepared workspace is key to a successful installation.
Installing valve guides requires precision and care to ensure proper alignment and seating. Begin by aligning the new guide with the cylinder head’s guide bore, ensuring it is straight and even. Use a specialized installation tool or a press to gently push the guide into place, applying steady pressure to avoid tilting. Once the guide is partially seated, use a hammer and a flat punch to tap it gently into position. Ensure the guide is flush with the head surface, checking with a depth micrometer if necessary. For aluminum heads, consider heating the area slightly to aid installation, as recommended in forums like Miata Turbo. After seating, inspect the guide for proper alignment and fitment. Reinstall the valve springs and components, ensuring they are securely fastened. Finally, test the valve train for smooth operation, checking for any leaks or irregularities. Proper installation ensures optimal engine performance and longevity of the valve train components. Follow these steps meticulously to achieve a professional-grade installation. It’s important to work methodically, as any misalignment can lead to premature wear or engine damage. By adhering to these steps and using the right tools, you can successfully install new valve guides, restoring your engine’s efficiency and reliability. Always refer to specific engine manuals or online resources like Austin-Healey forums for model-specific guidance. This careful approach will ensure a successful installation and maintain your engine’s peak performance. Attention to detail is crucial in this process. Complete each step thoroughly to guarantee a durable and effective result. The installation process, when done correctly, will enhance your engine’s operation and extend its lifespan. Installing valve guides is a critical process that, when done correctly, ensures optimal engine performance and longevity. Properly seated valve guides prevent oil leaks, reduce wear on moving parts, and maintain precise valve alignment. By following the outlined steps and using the right tools, you can achieve a professional-grade installation that enhances your engine’s efficiency and reliability. Remember, attention to detail is paramount. Misalignment or improper seating can lead to premature wear or even engine damage. If unsure, consult resources like the Austin-Healey Experience or Miata Turbo Forum for model-specific advice. Taking the time to perform the installation meticulously will pay off in the long run, ensuring your engine runs smoothly for years to come.
Installation Process